
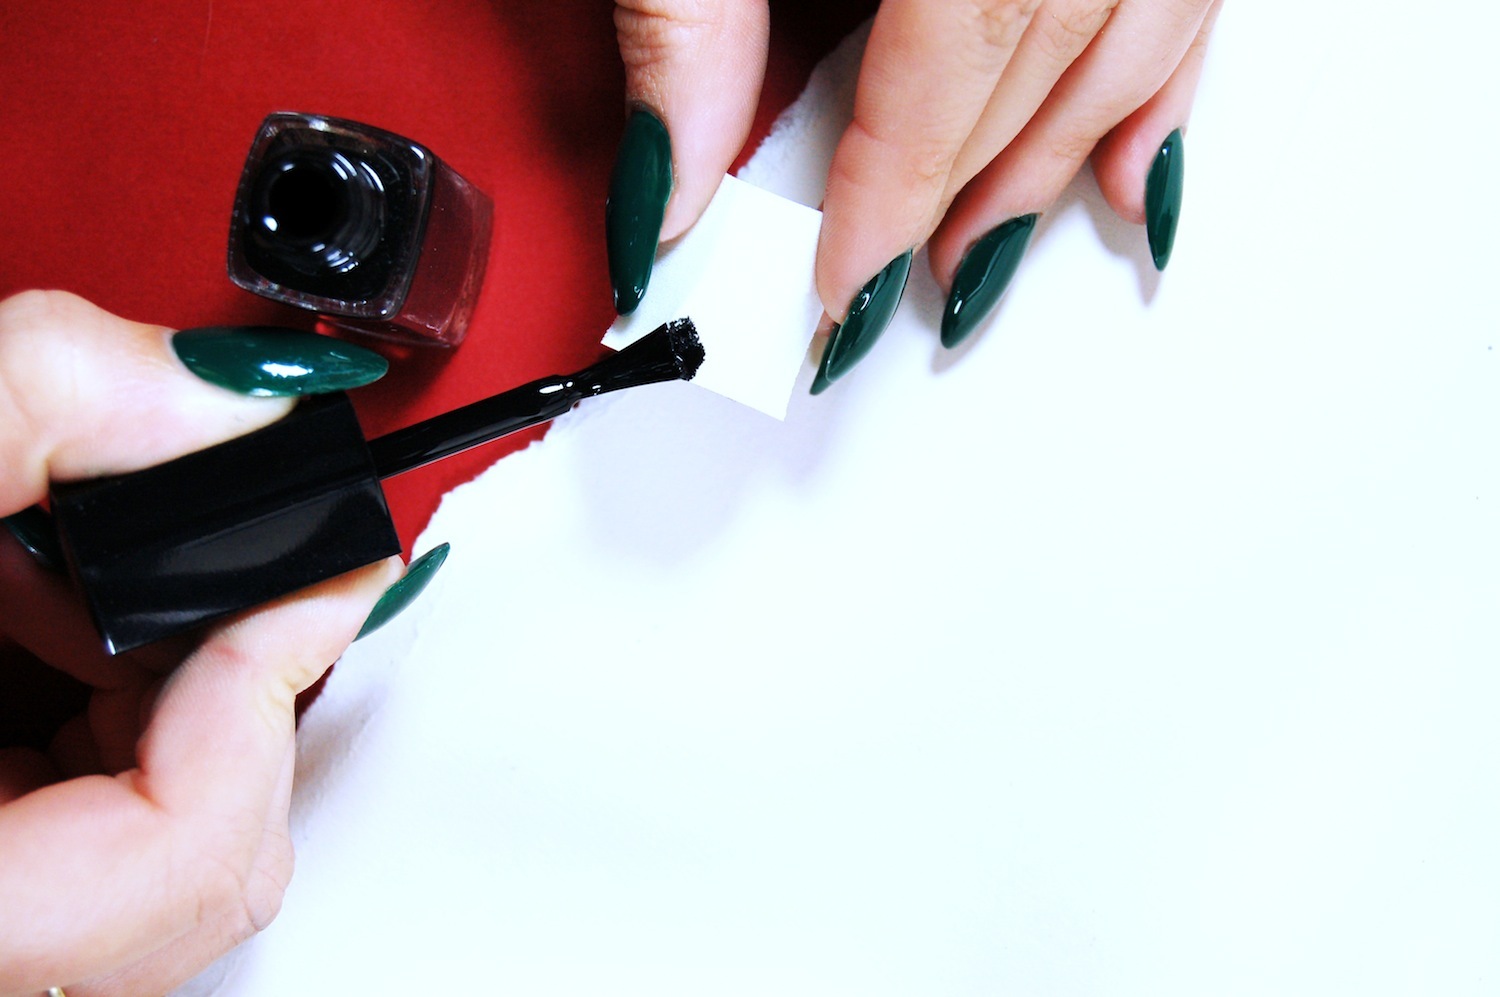
STEP 1
”File and buff your nails, apply a base coat and add two glossy layers of green. Here we have used WAH London ‘Be Better Not Bitter’, a perfectly rich deep green!”

STEP 2
”Grab a make-up sponge and blot on some black nail polish.”
STEP 3
”Starting at the tip, dab the sponge towards the centre of the nail. The more you dab the less polish is on the sponge, this gives the graduated effect.”
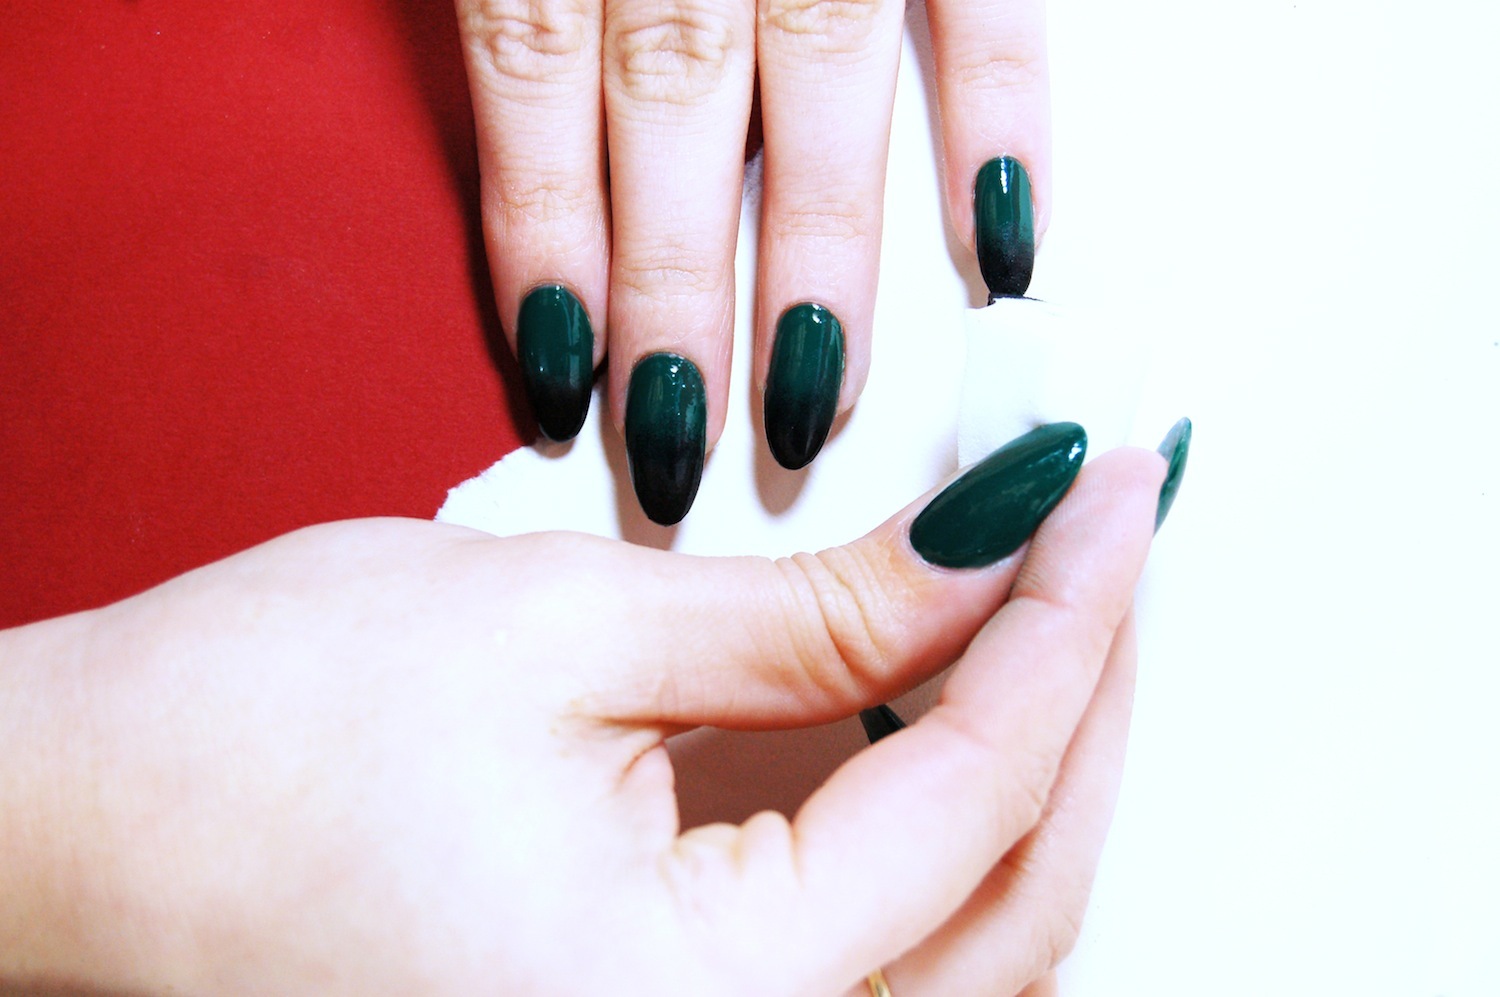
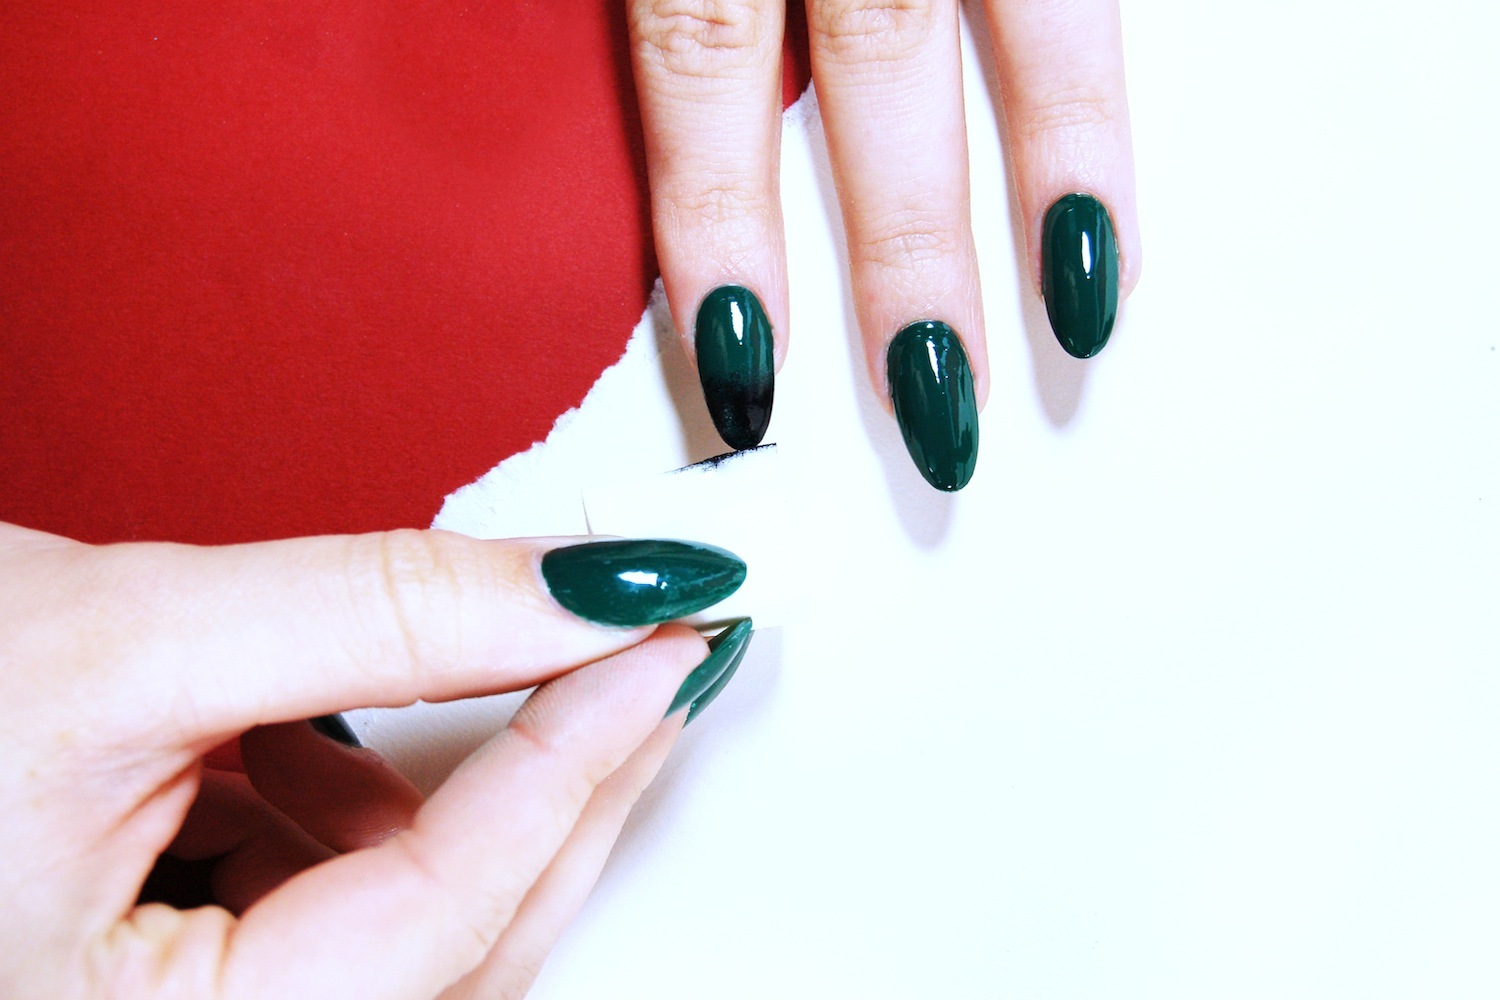
STEP 4
”Add an extra sponging to the tips to give some real depth!’
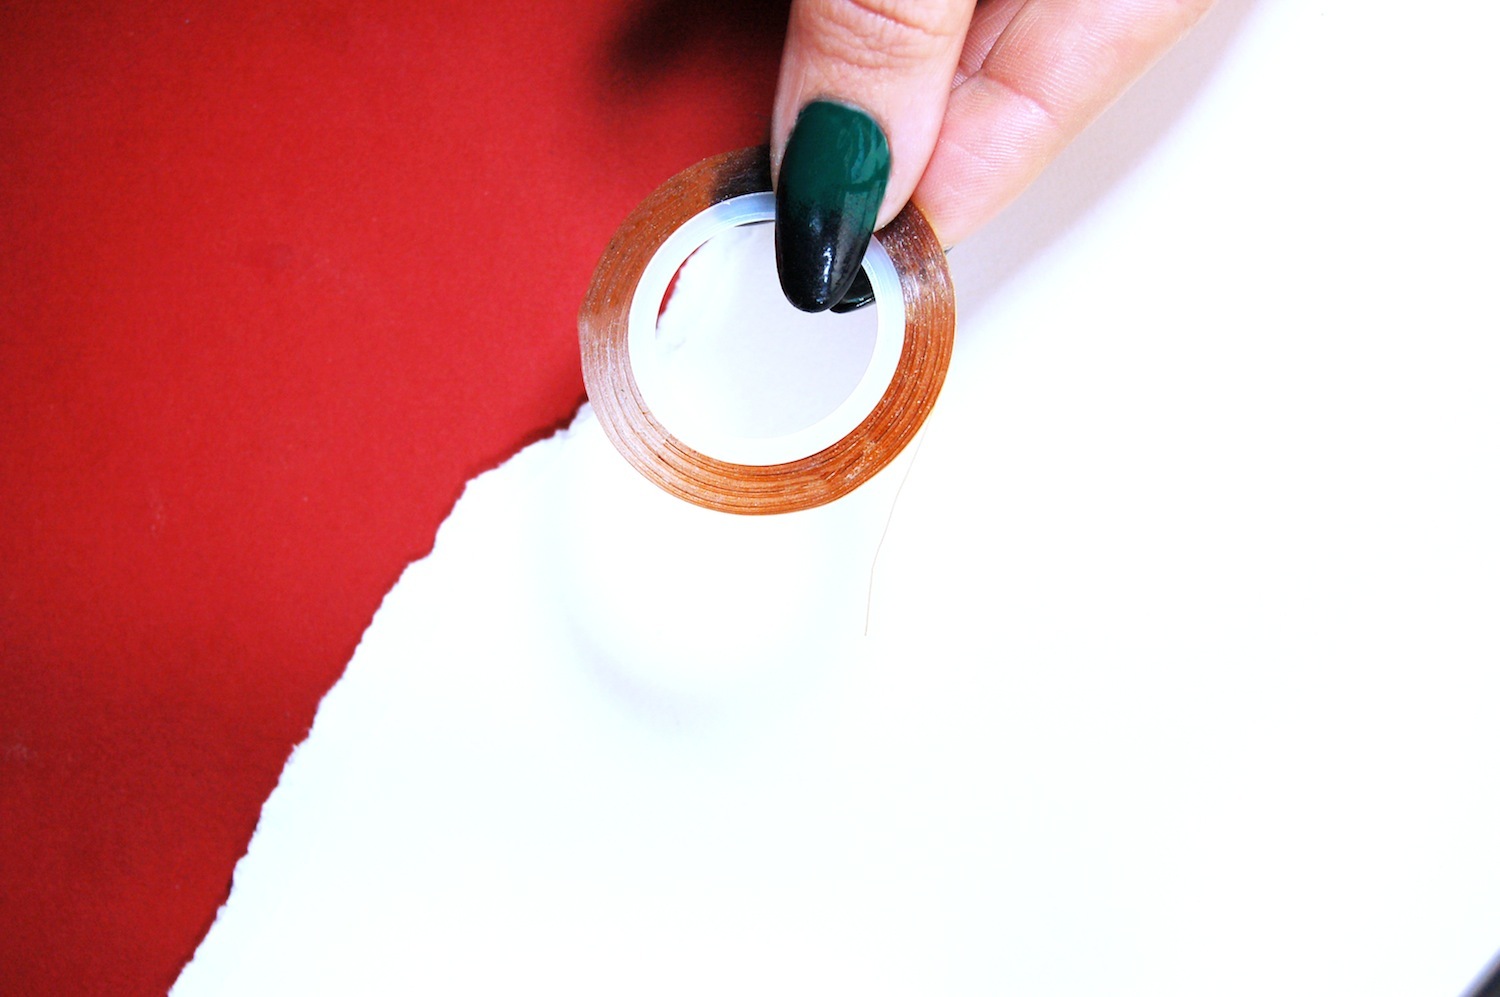
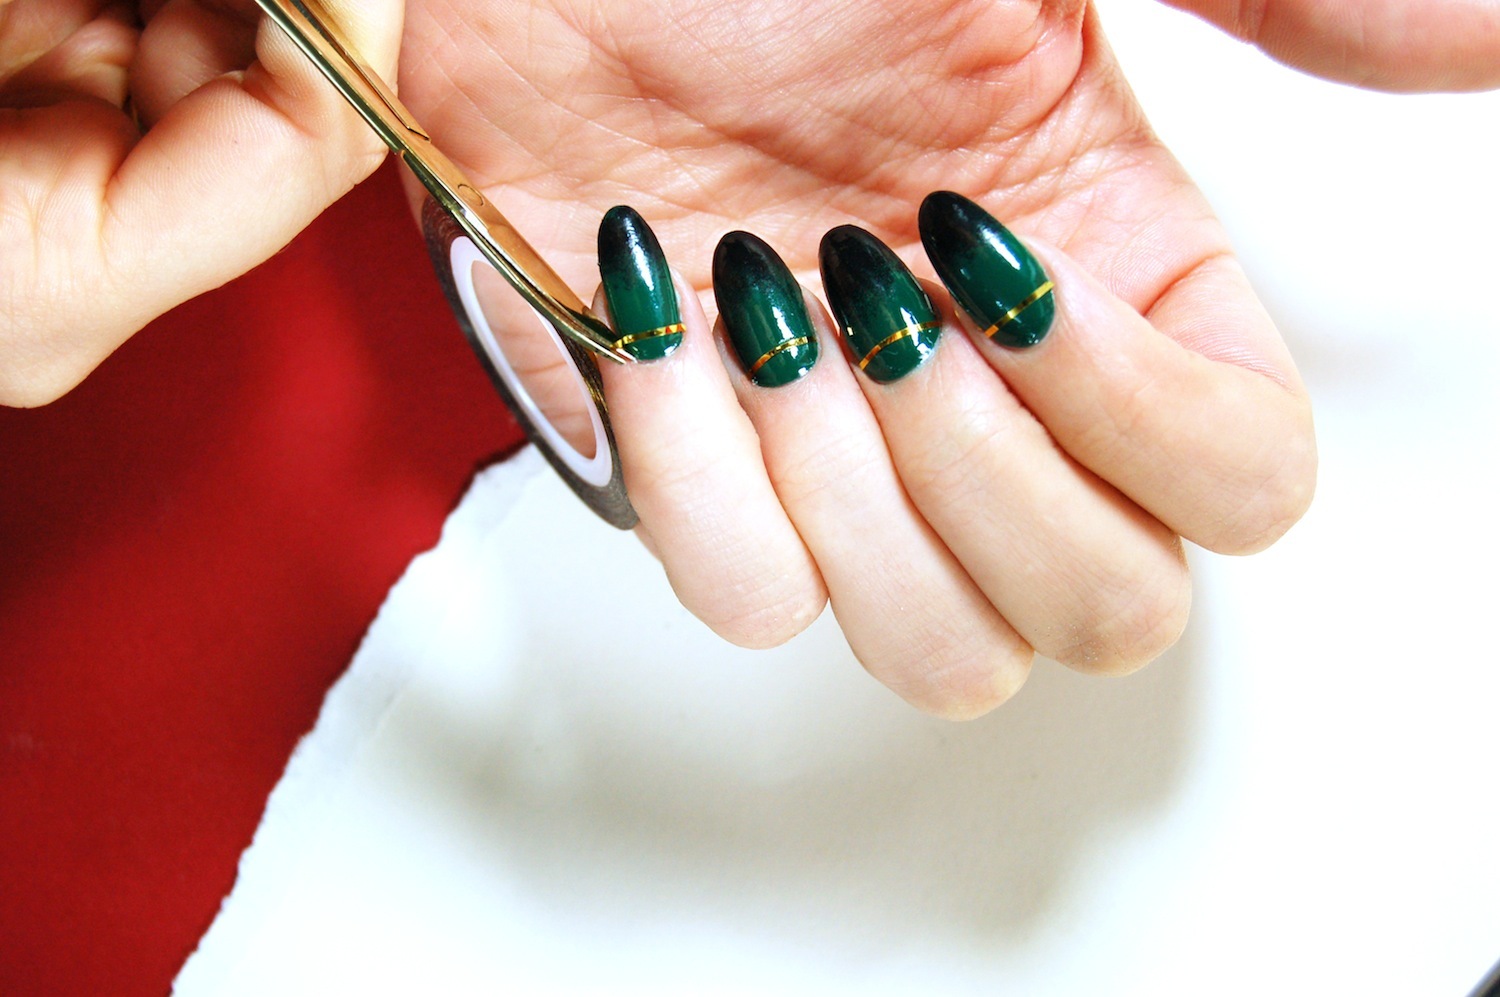
STEP 5
”For detail we are using the WAH London gold striping tape found in our Liquid Metal Nail Edit Kit.”
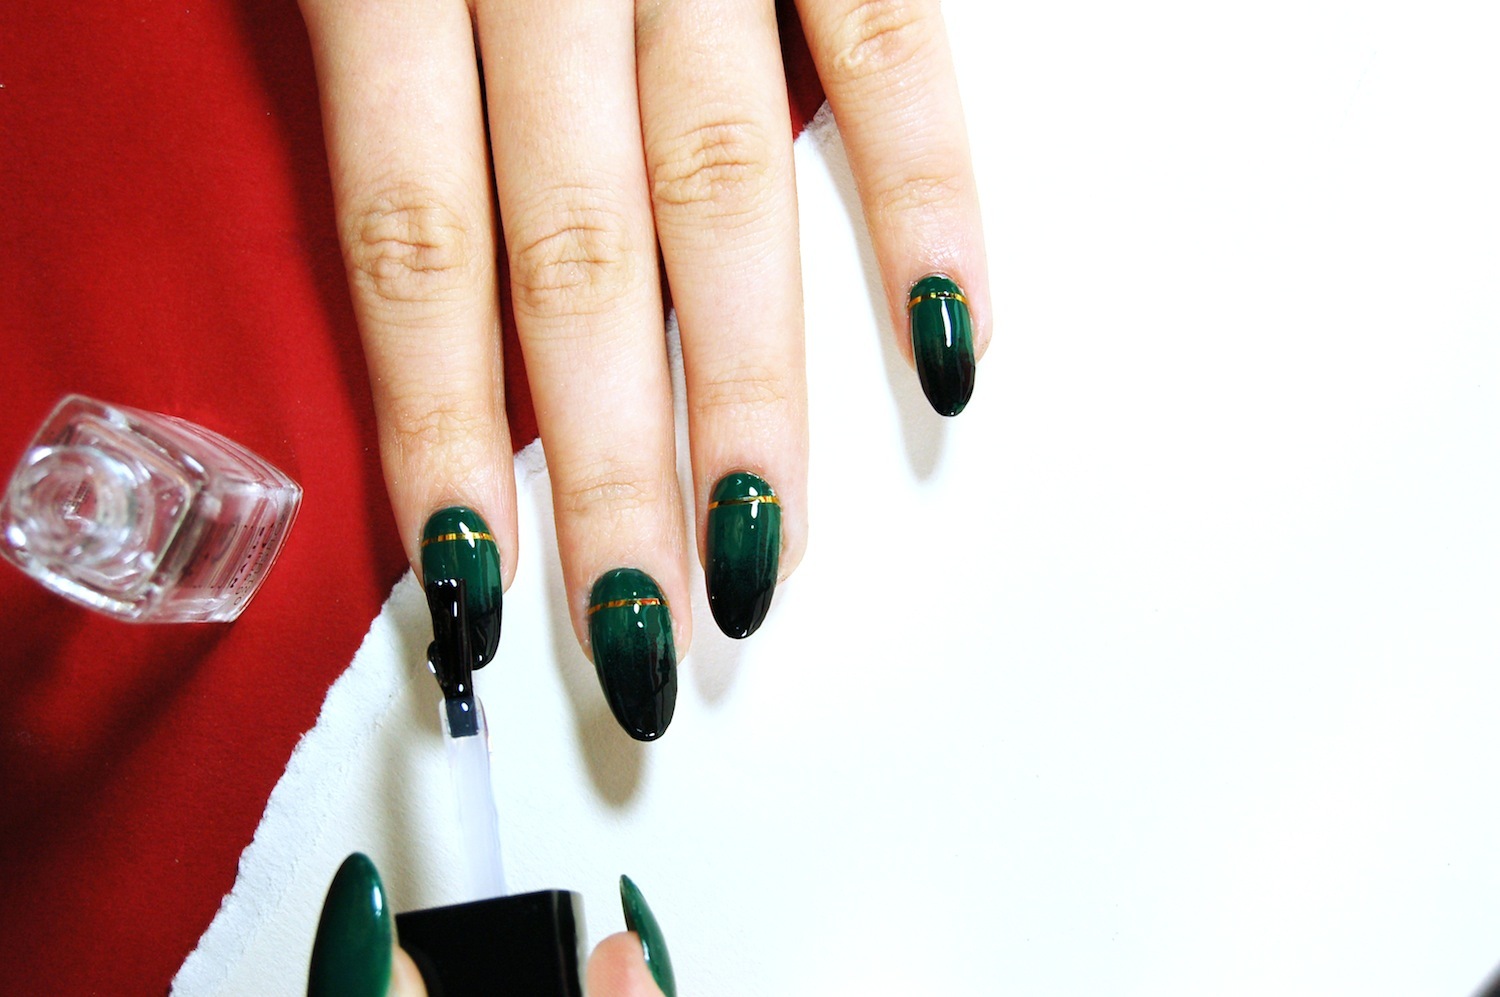
STEP 7
”Apply a generous layer of topcoat, we use our WAH London ‘Classy Glassy Glossy’ topcoat for a glass-like finish!
Credits
Text Sharmadean Reid